HOW TO MAKE [ALMOST] ANYTHING_MAS.863
Some of this is duplicate information from Week 07 - Molding and Casting, so if you're looking for more detailed information about that process, please take a visit to that page.
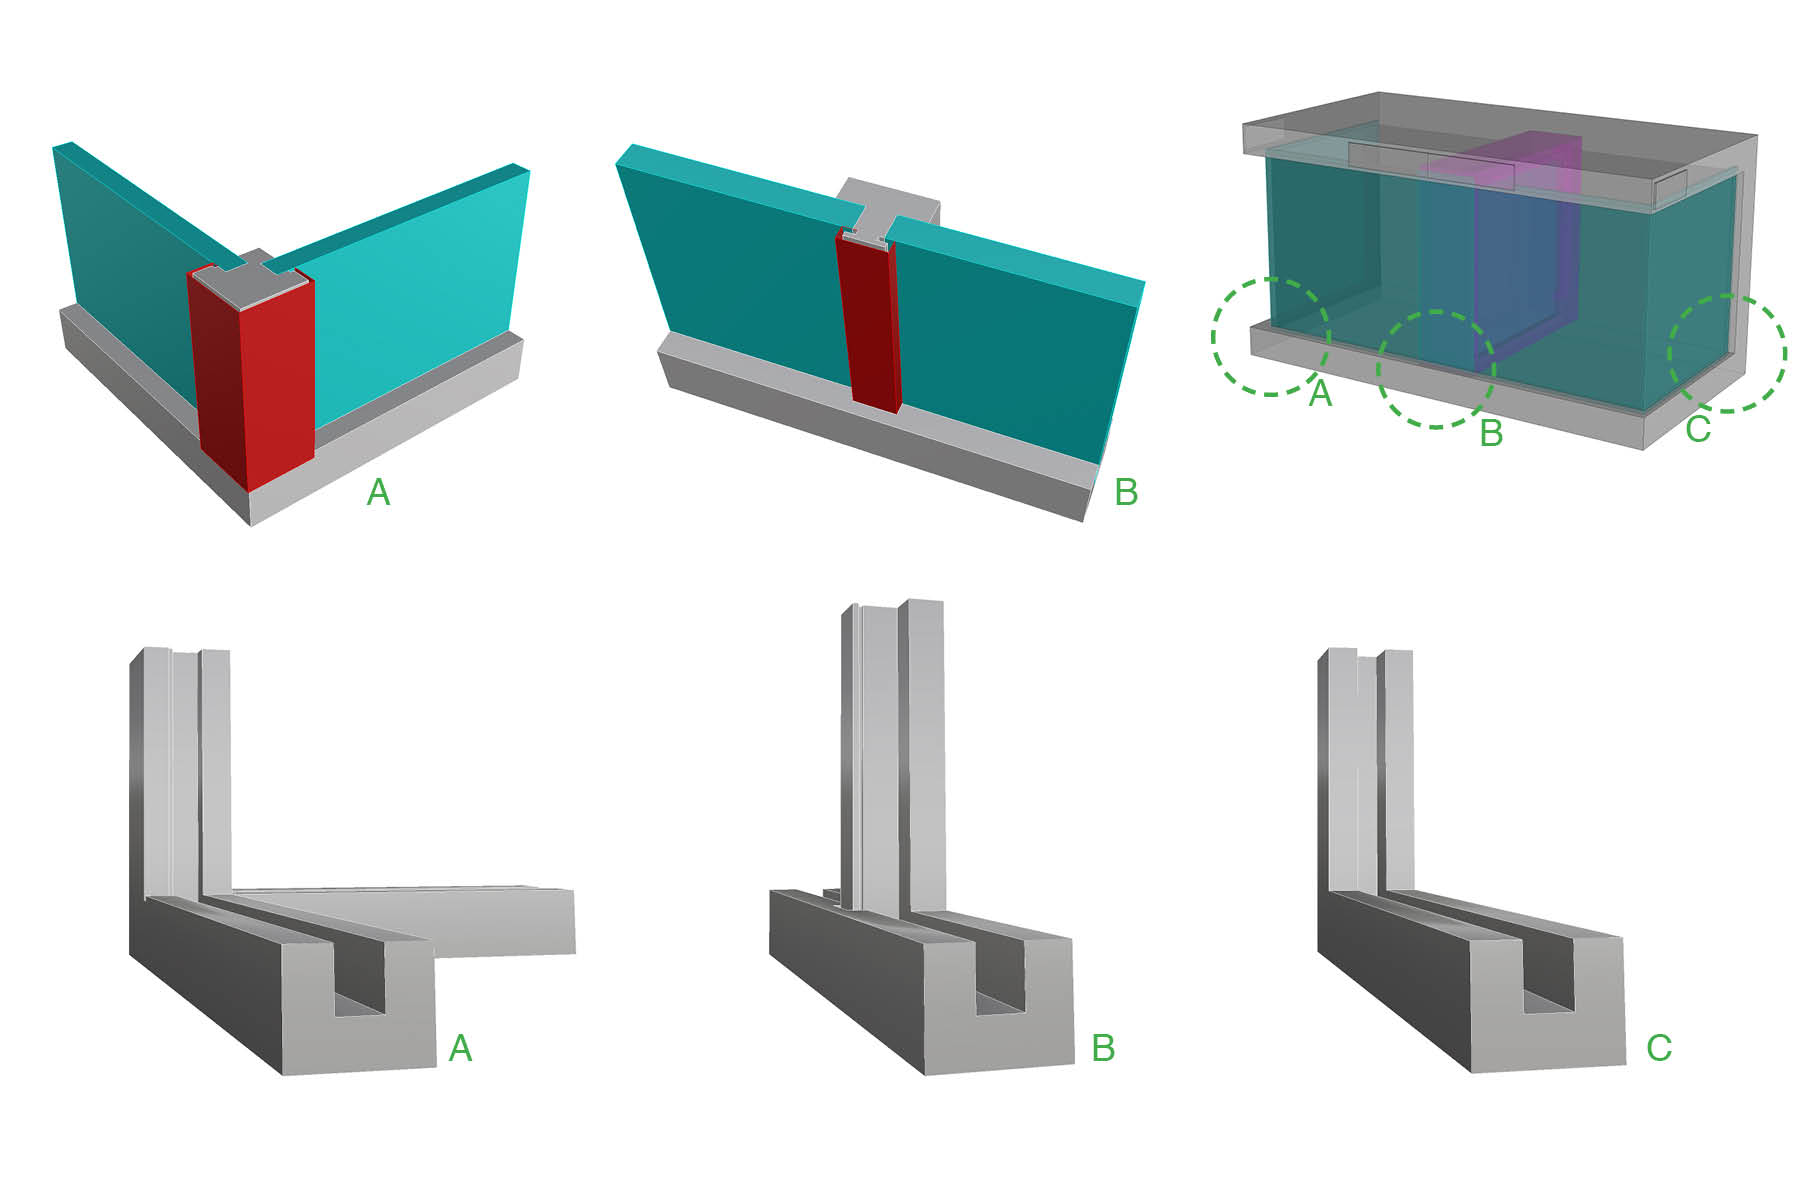
When I made my Environment Box prototype for Week 05 I noticed that the acrylic wasn't particularly air tight. Though I'm not trying to make a vacuum, I did want to make something that had a predictable airtightness level. Since the acrylic was sitting right in the foam, the joints loosened up as I continued to work with the box. So I decided to make some custom silicon gaskets. The silicon will mostly be burried in the foam, but where it is exposed at the corners, I hope to wrap it in aluminum or some sort of sheet metal. (This is the red layer on joints A and B above).
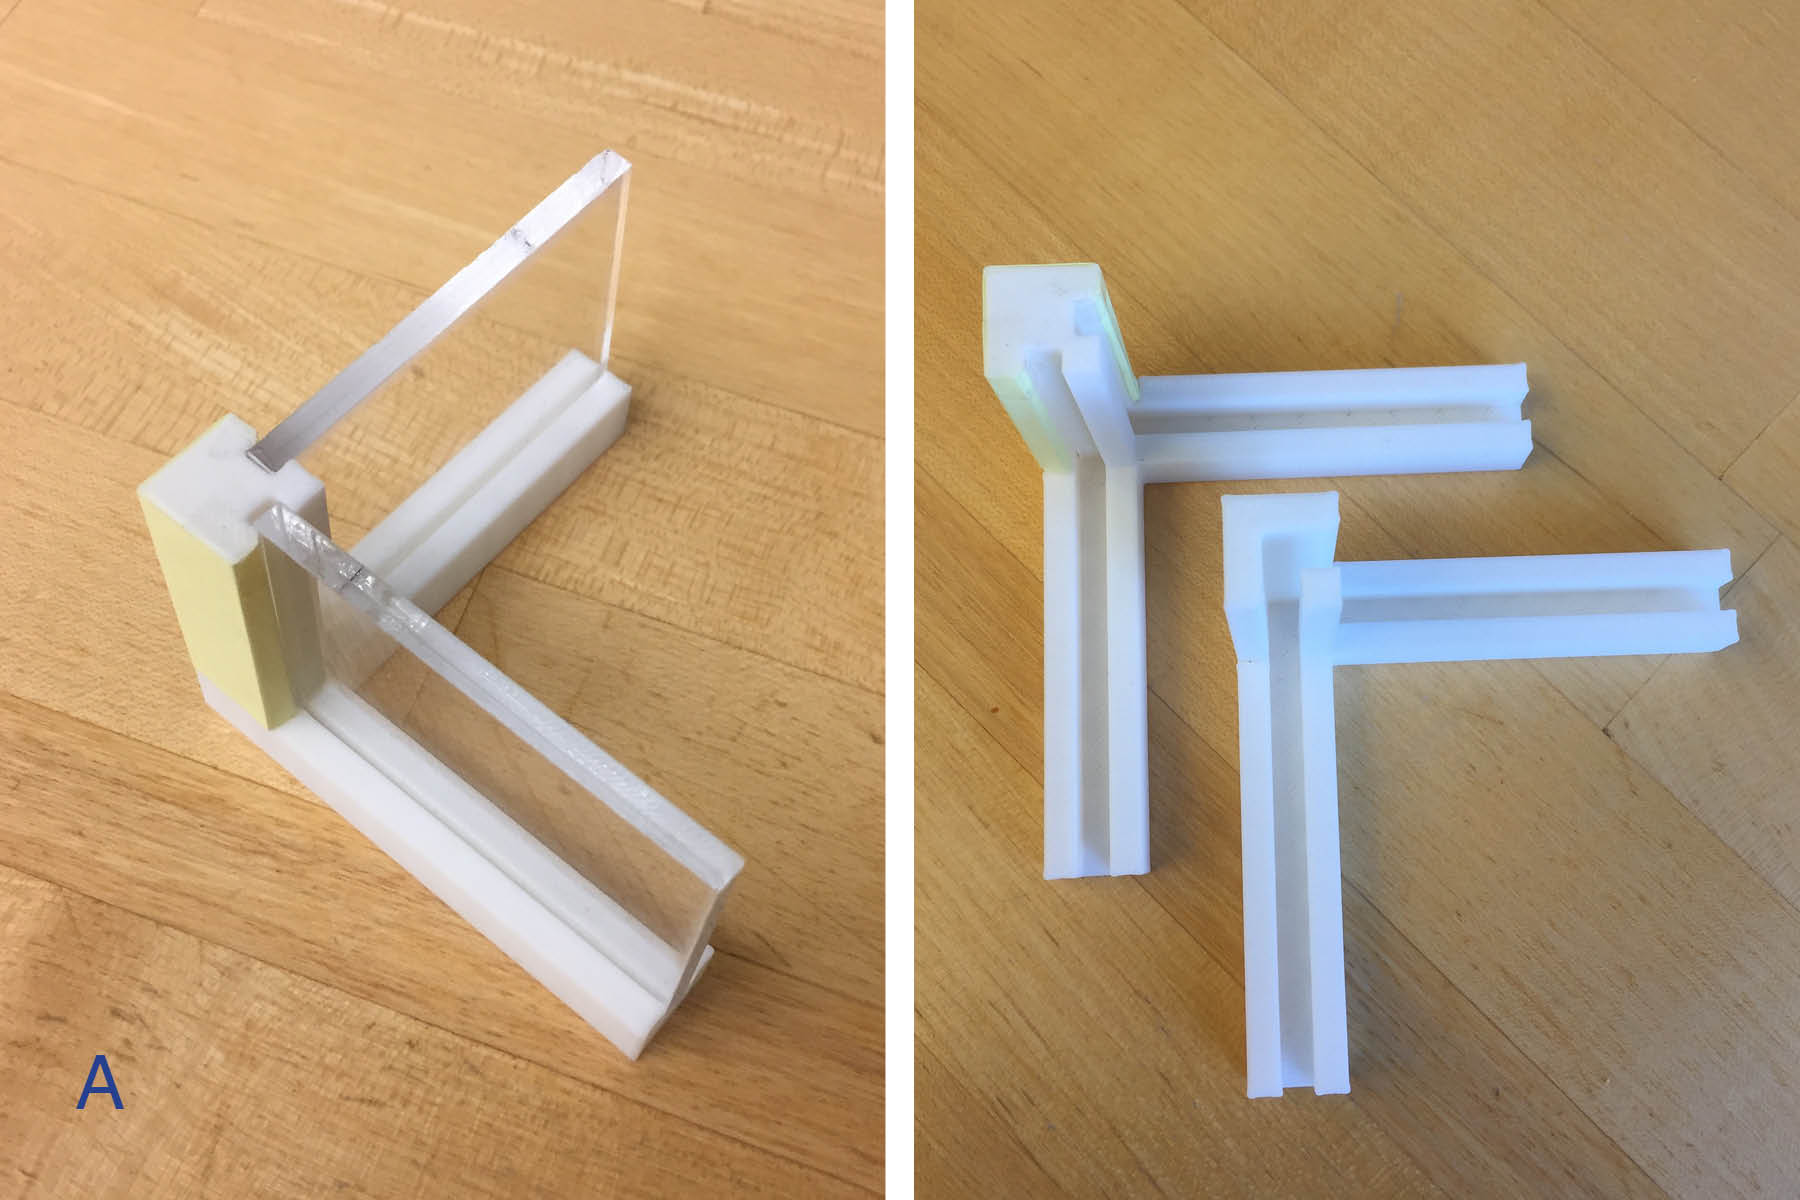
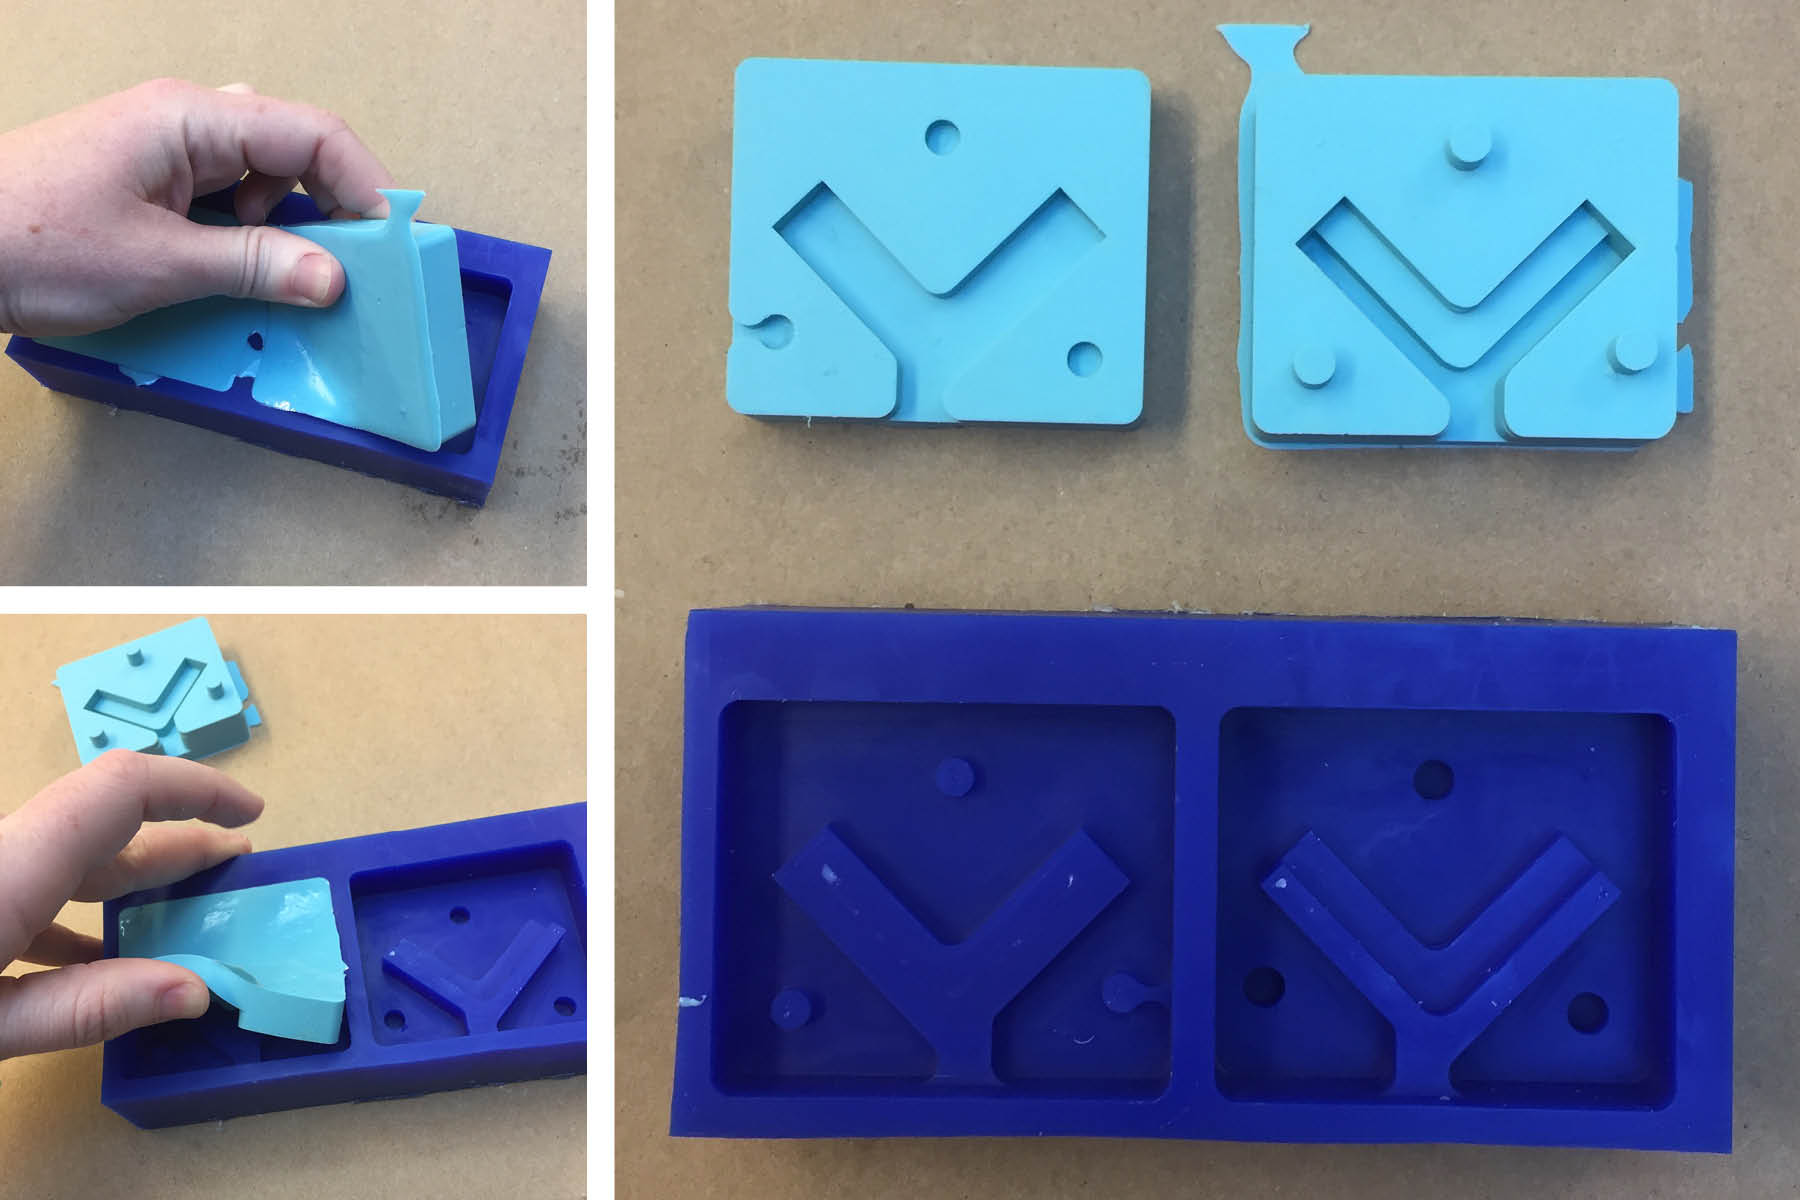
Since the molding process was still a little foreign to me, I wanted to make sure I had the right design before I went through the effort of milling the wax, making the mold, then finally casting it. So I 3d printed the three different corner conditions. Above is joint A which occurs at an acrylic to acrylic corner condition. I ended up redesigning this piece to fix the interior condition. The small square part in the center wouldn't have anything to hold on to. The image on the left is the final design.
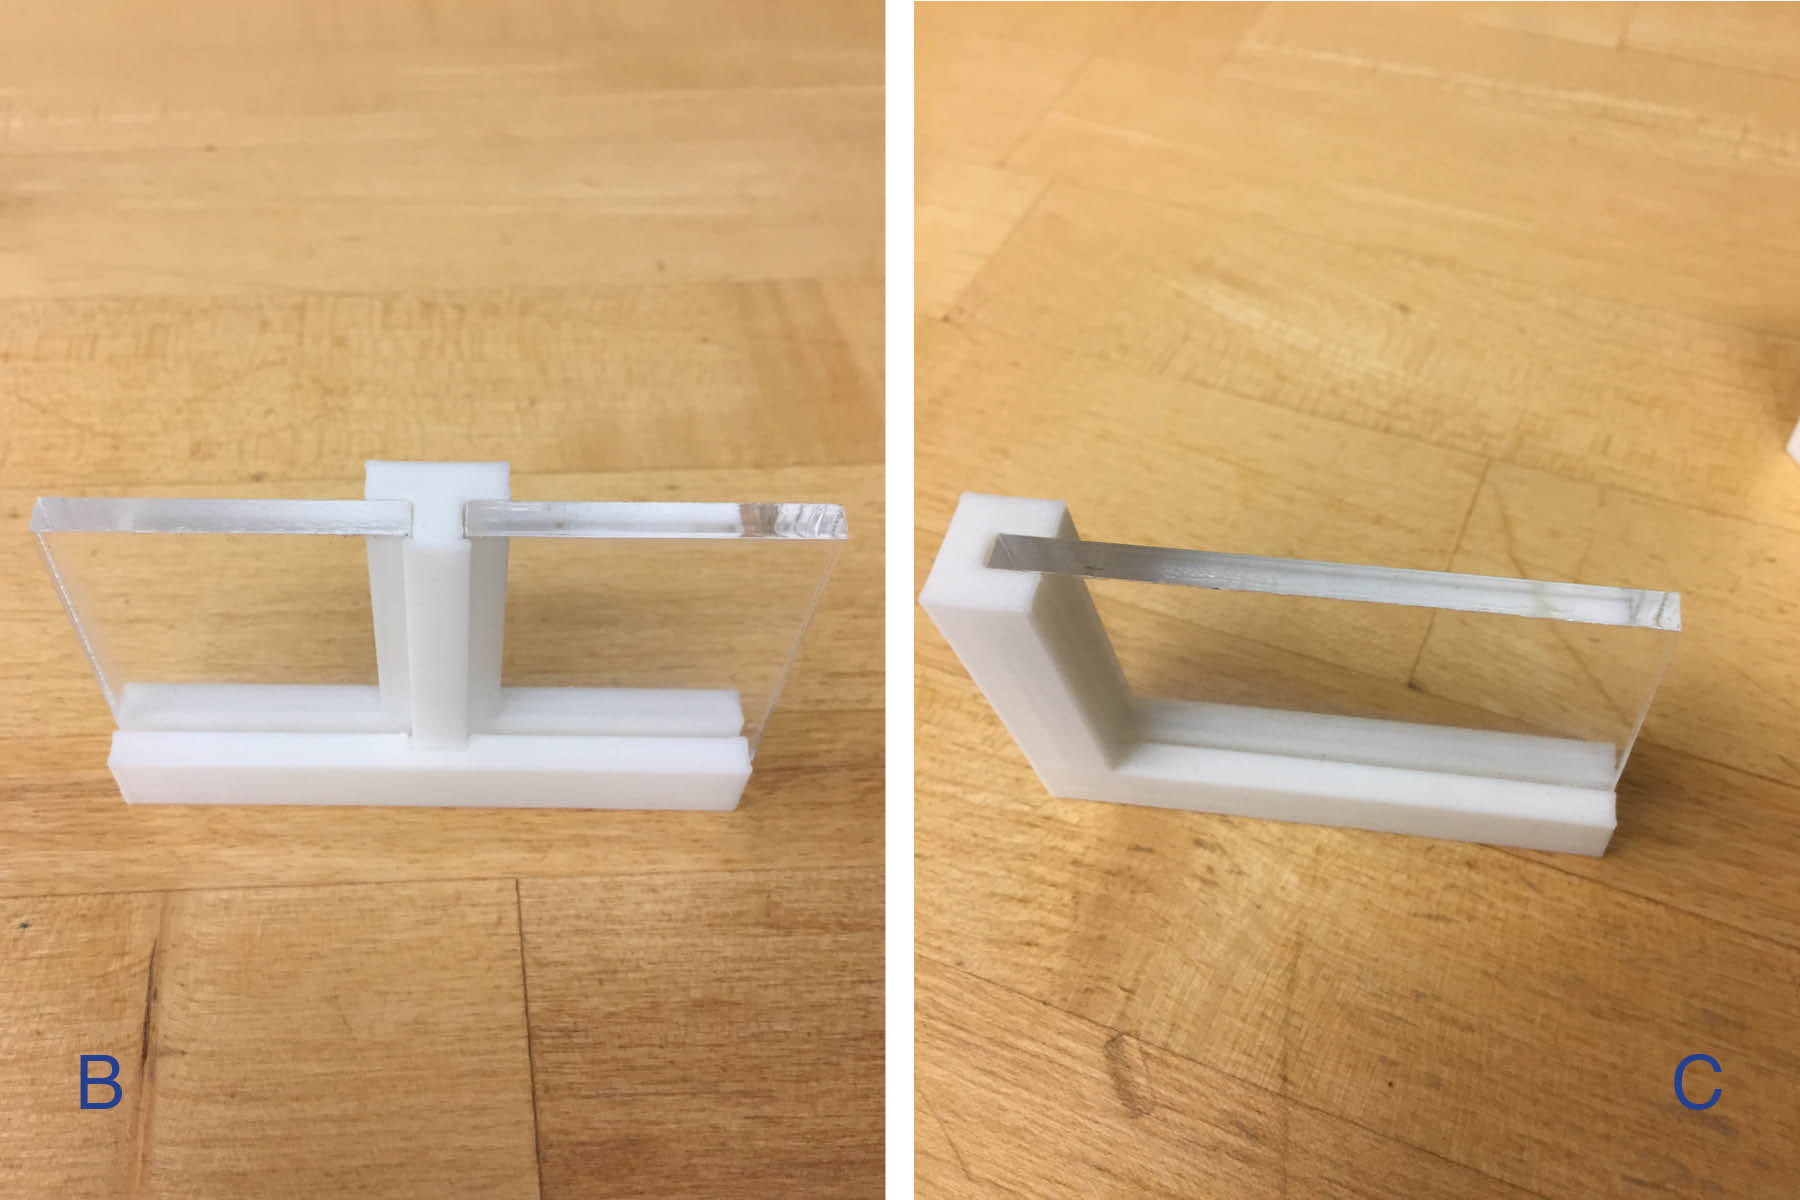
Joint B (left) is where the acrylic meets acrylic at a flat condition (this allows me to use smaller sheets of acrylic to keep costs down and to stay within the confines of the laser cutter bed). Joint C (right) is where the acrylic meets the foam and is a fairly straightforward joint. This is the joint that I used to move forward this week.
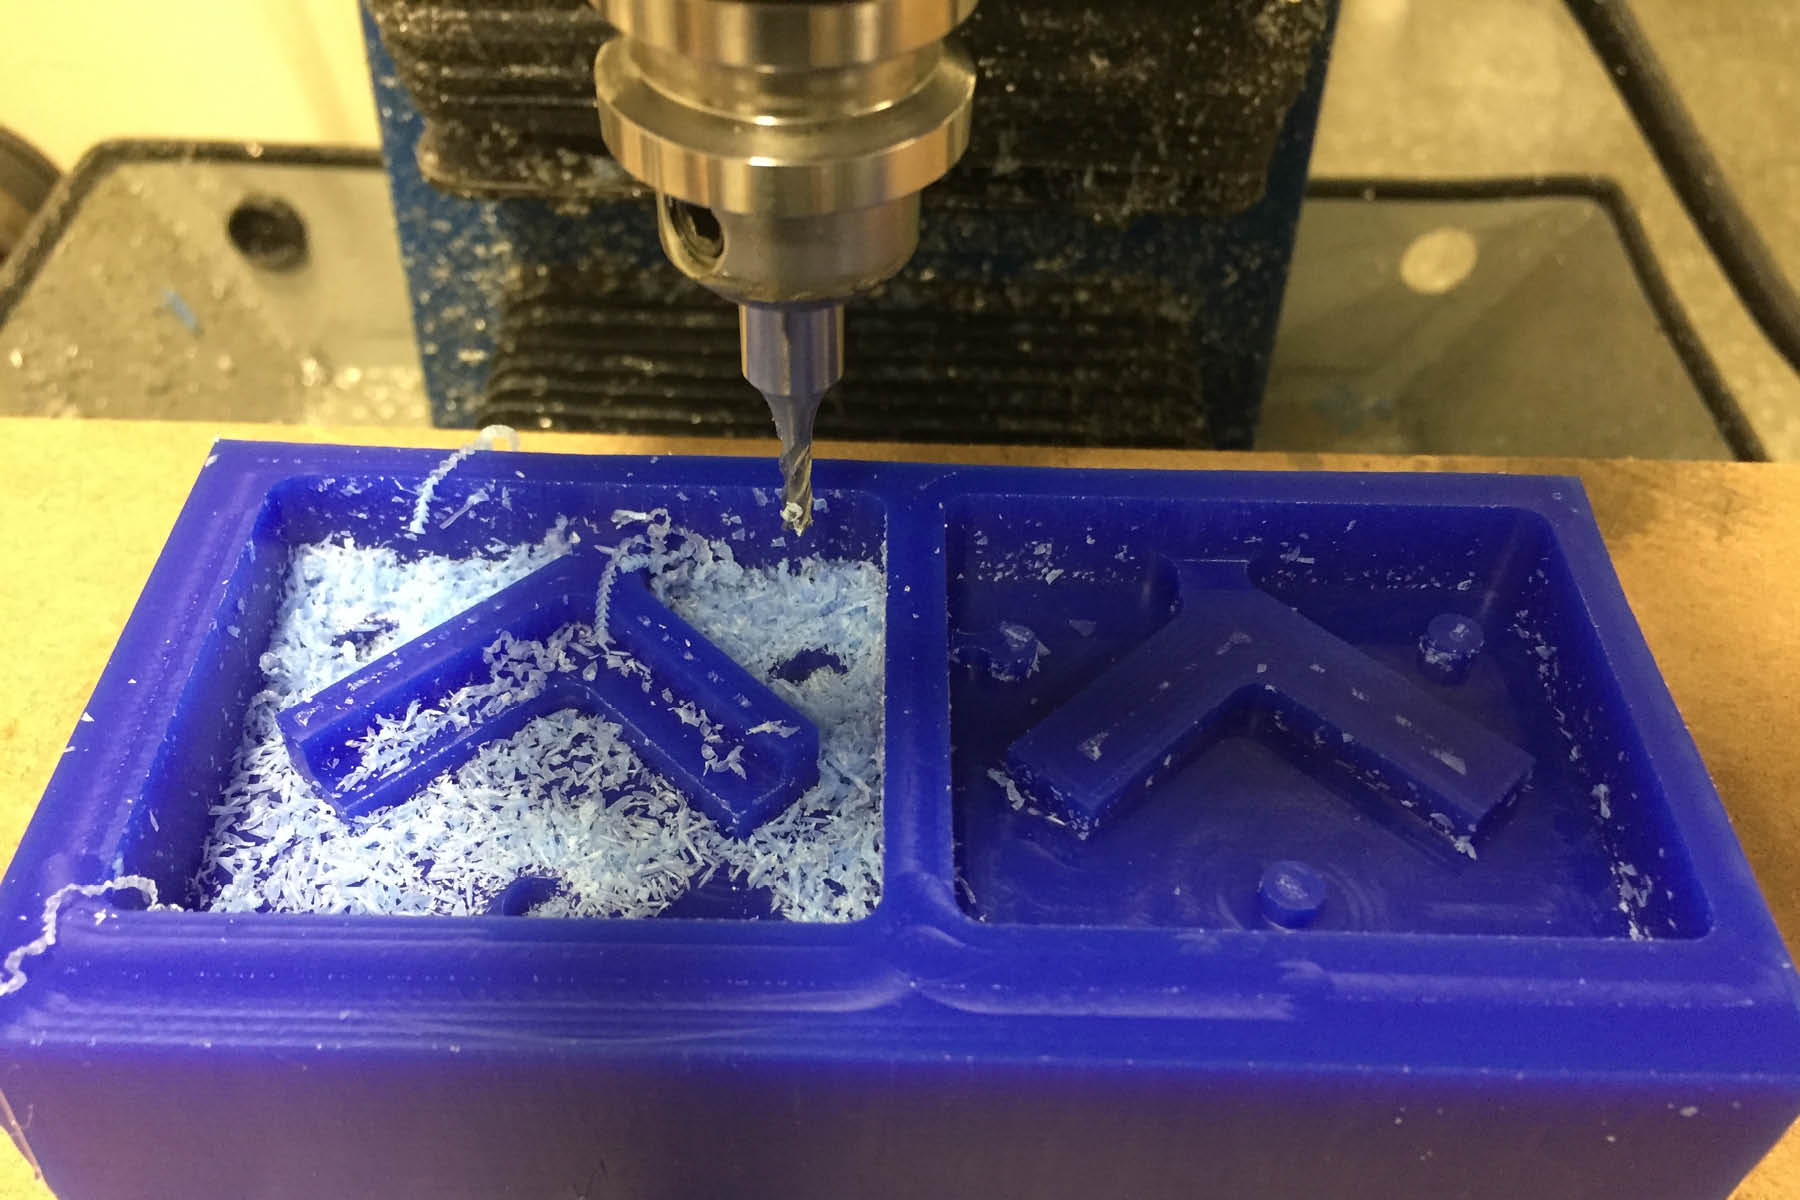
Here it is with the 1/8" bit doing the final cuts.
I made the mold out of Oomoo and it was clean, air bubble free, and easy to work with.
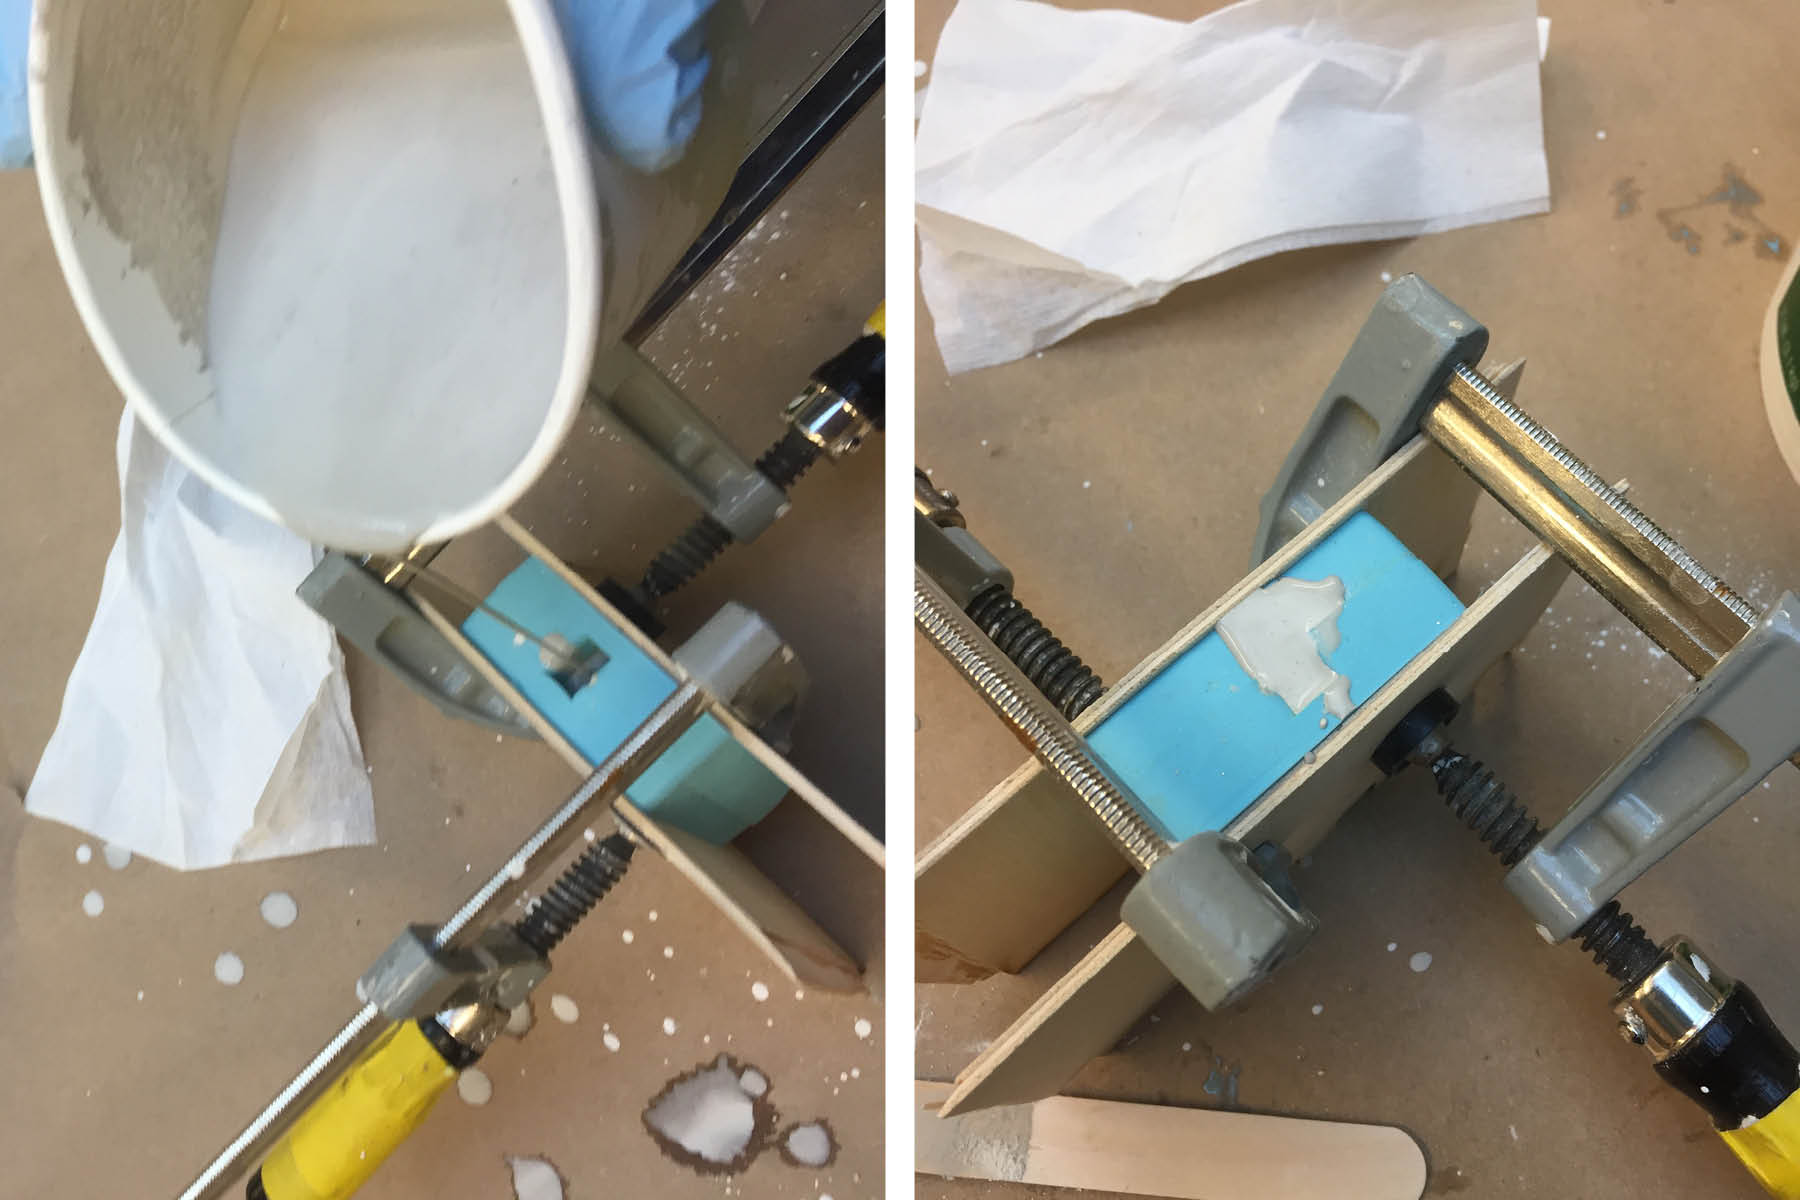
I poured a test out of hydrostone first.
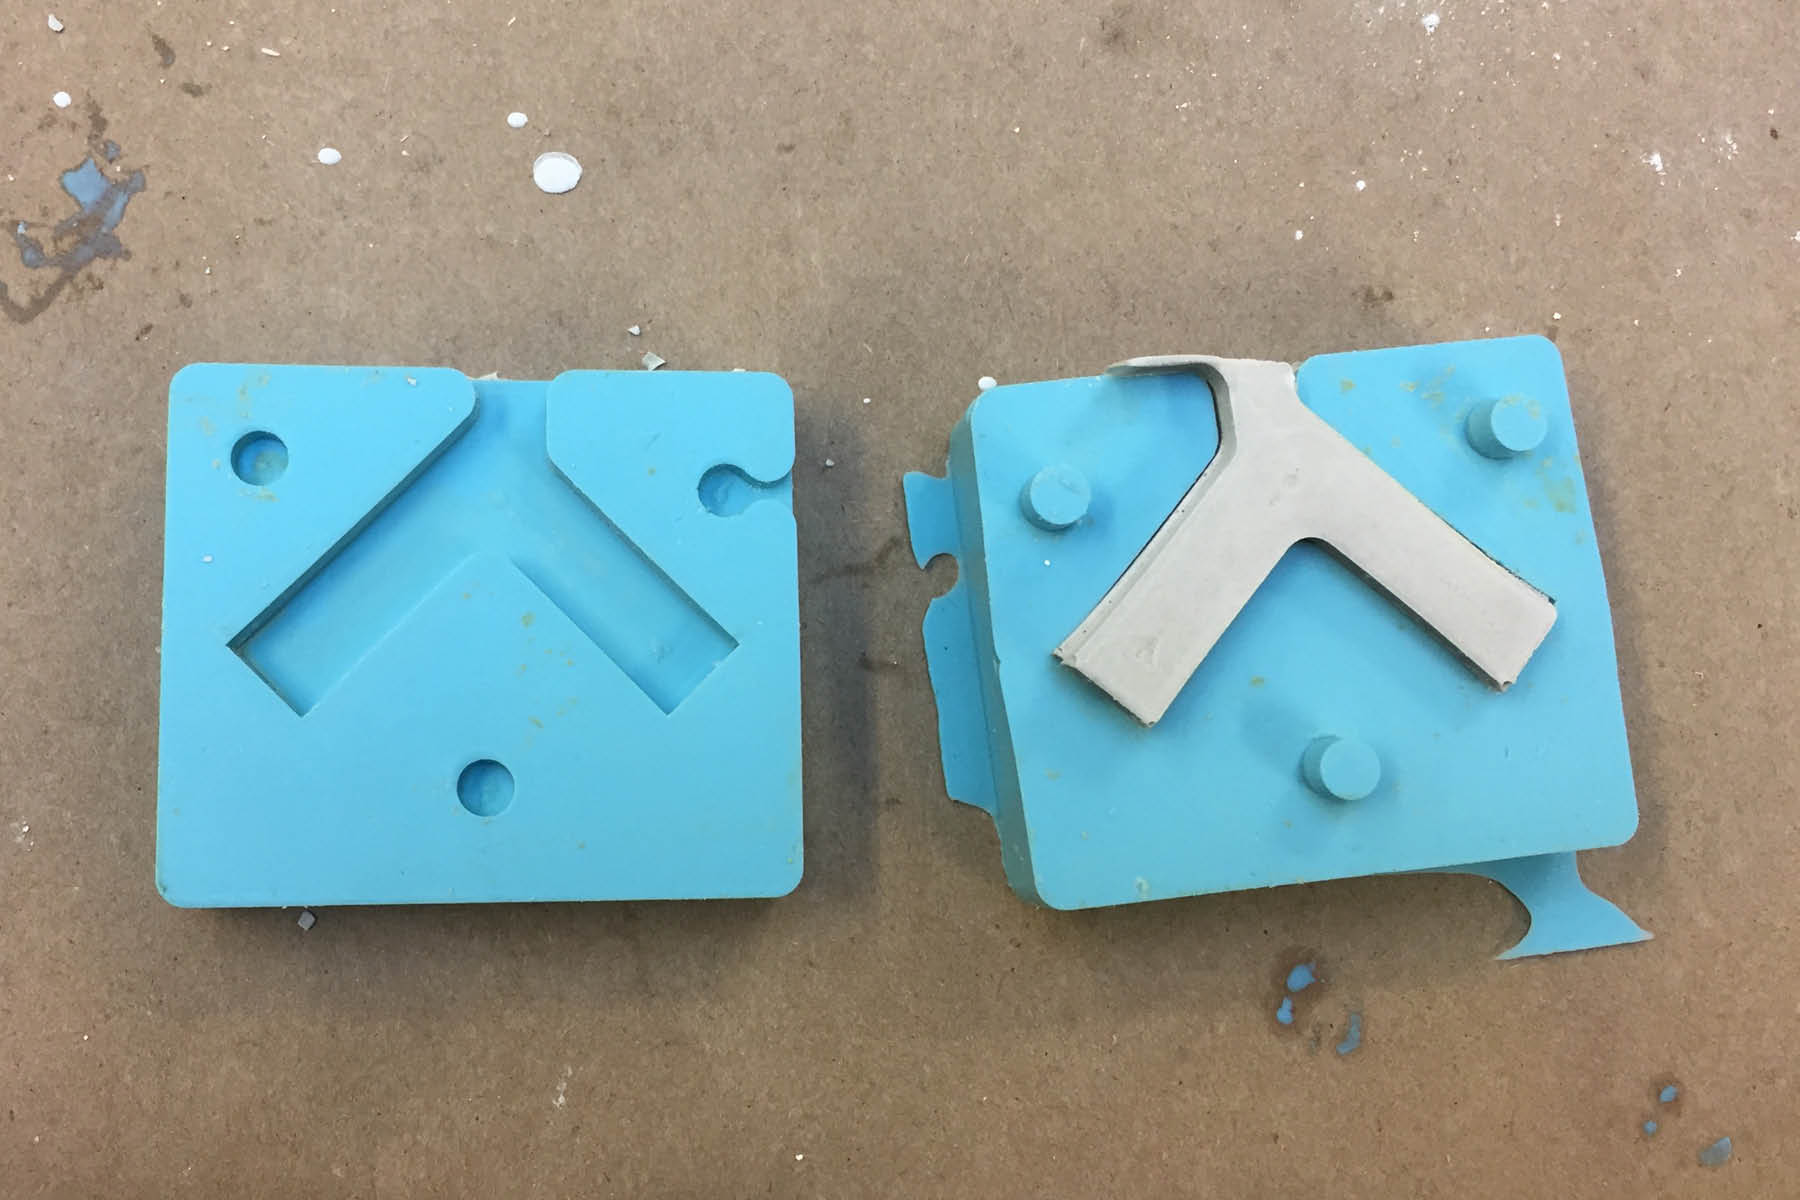
And here it is coming out of the mold. I let it cure for about 2-3 hours and took it out of the mold. It looks like it still had some curing to do, but it was solid enough to work with.
Not exactly the shape I had intended.
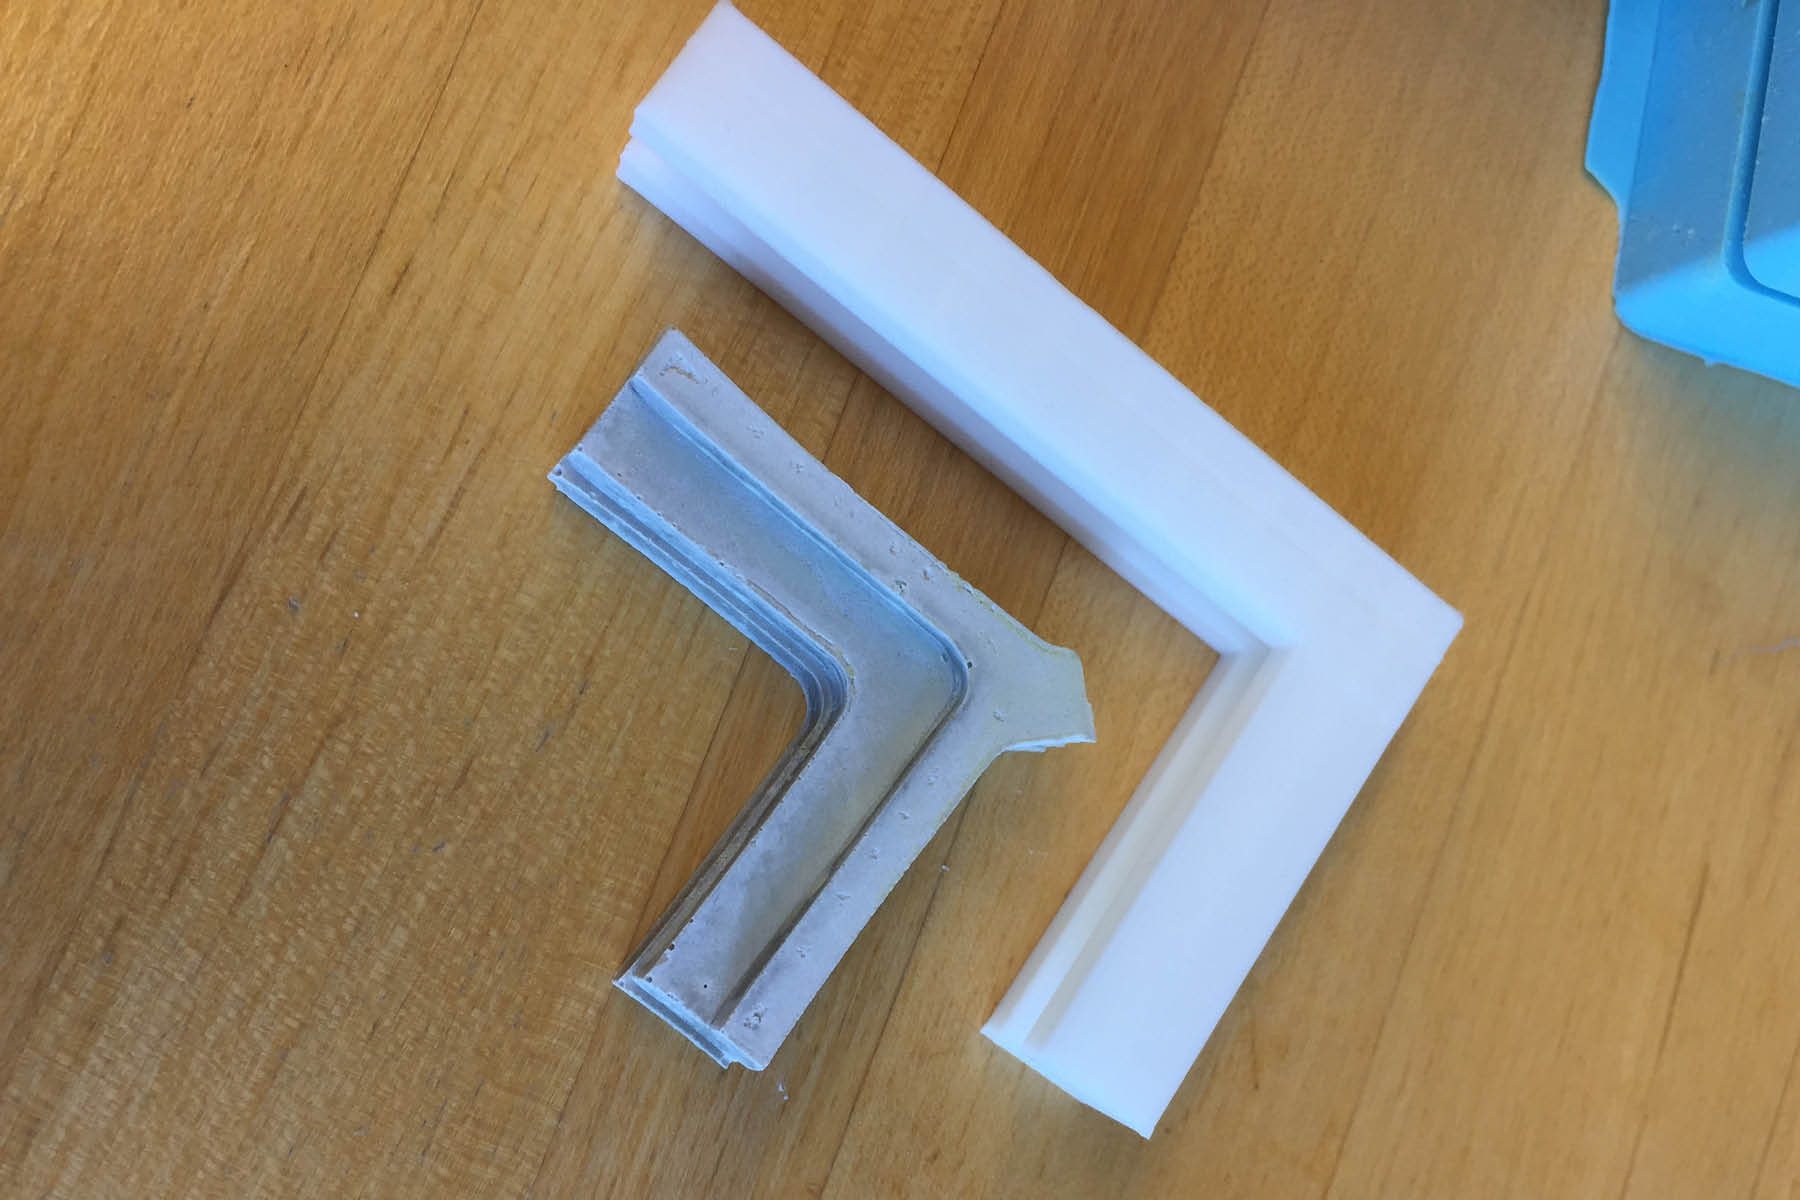
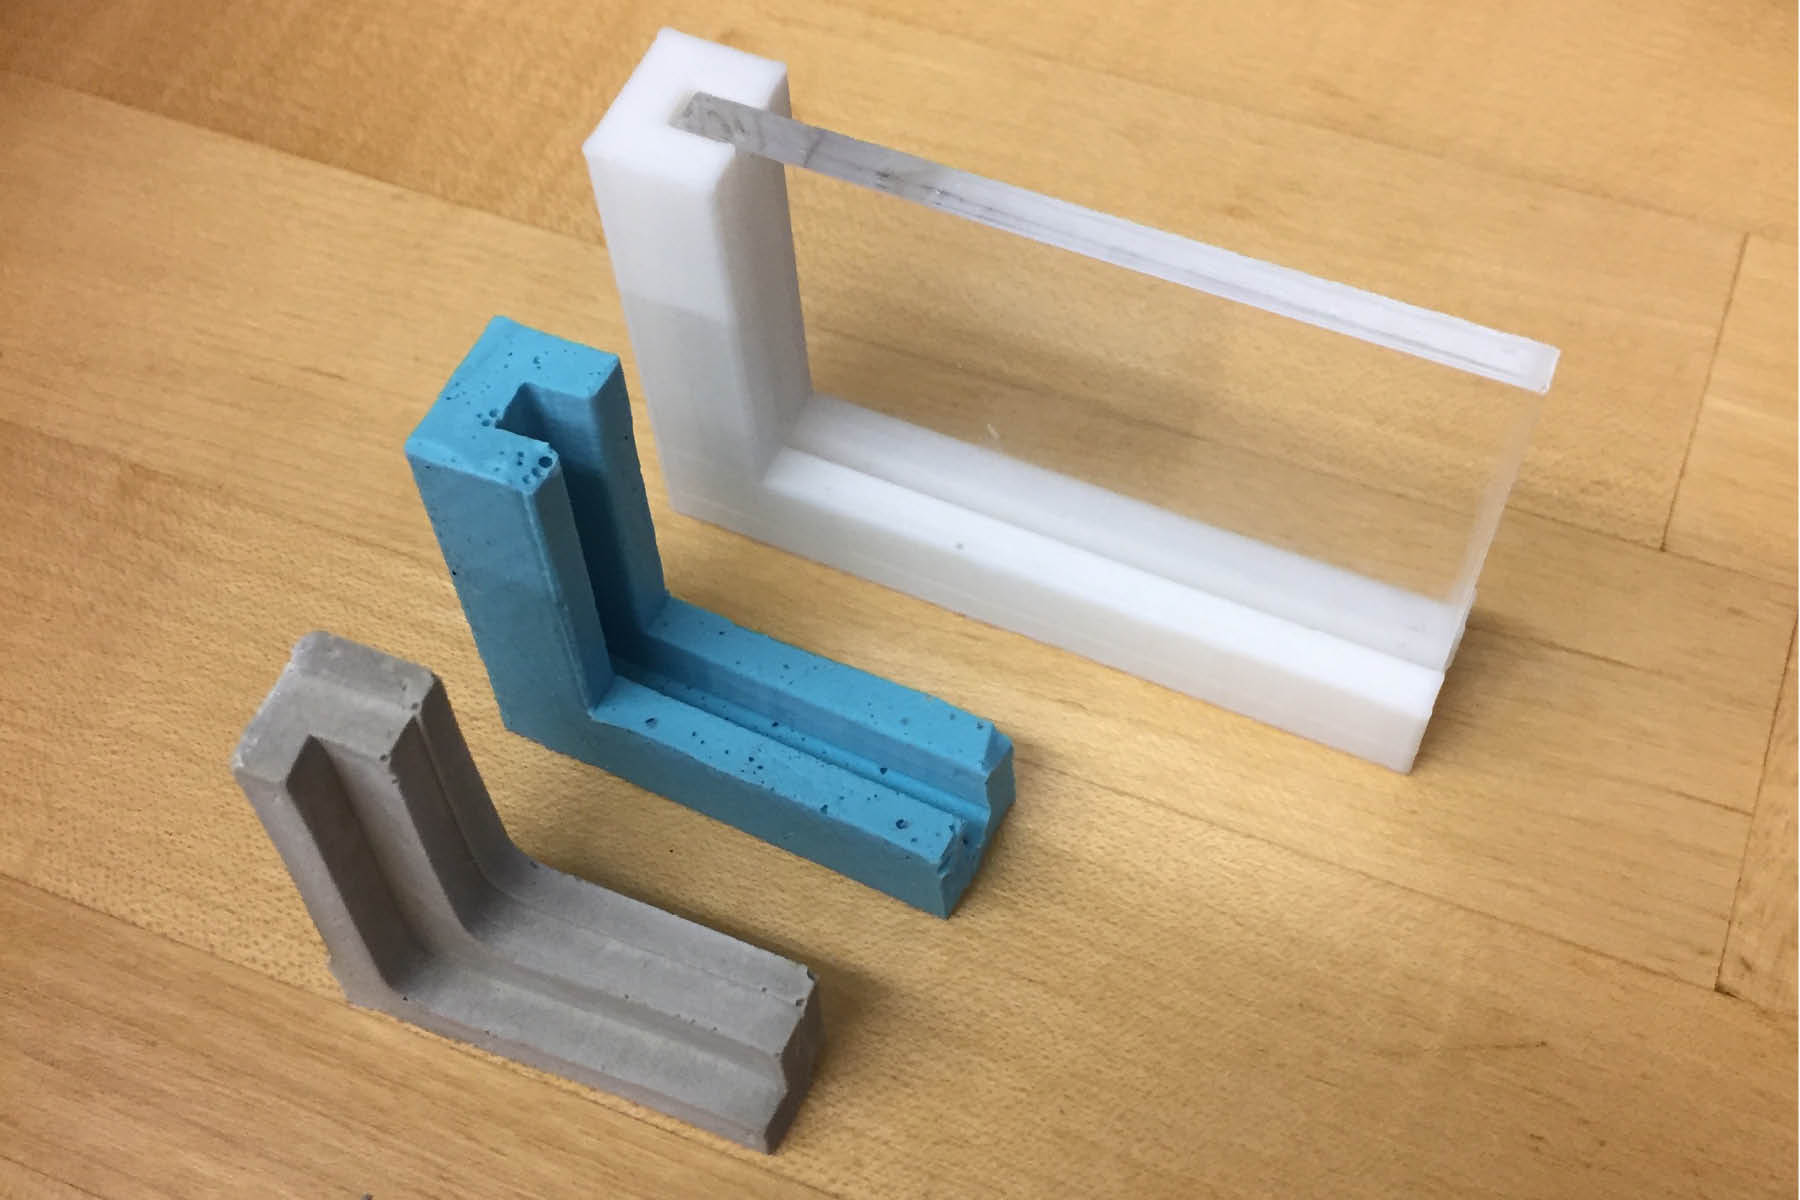
Here it is next to the 3d printed piece.
A few weeks later, I decided to remake the mold on the 3d printer.
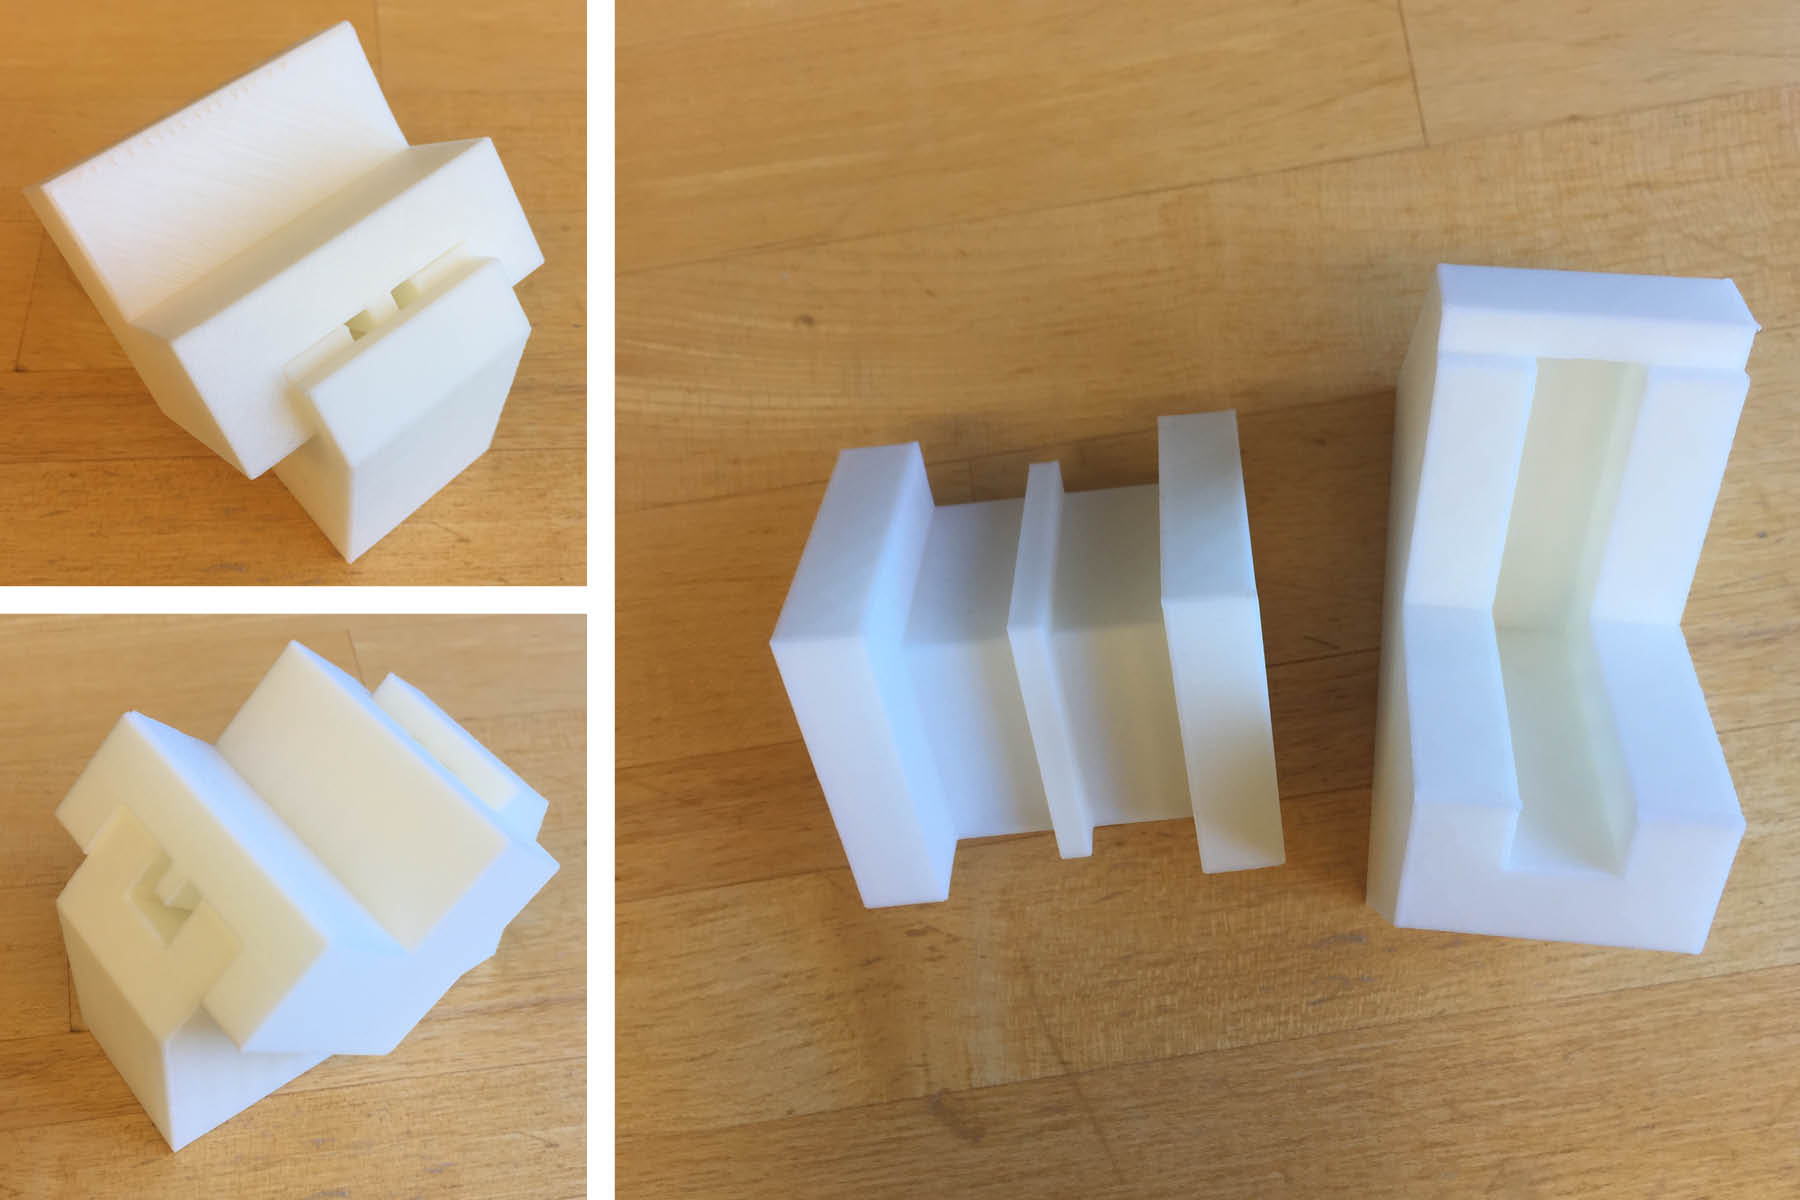
Because I'm planning to use a flexible material, I figured it would be OK to use a hard material for the mold. The two images on the left show the the air hole (top) on ones side and the pour hole (bottom) on the other side.
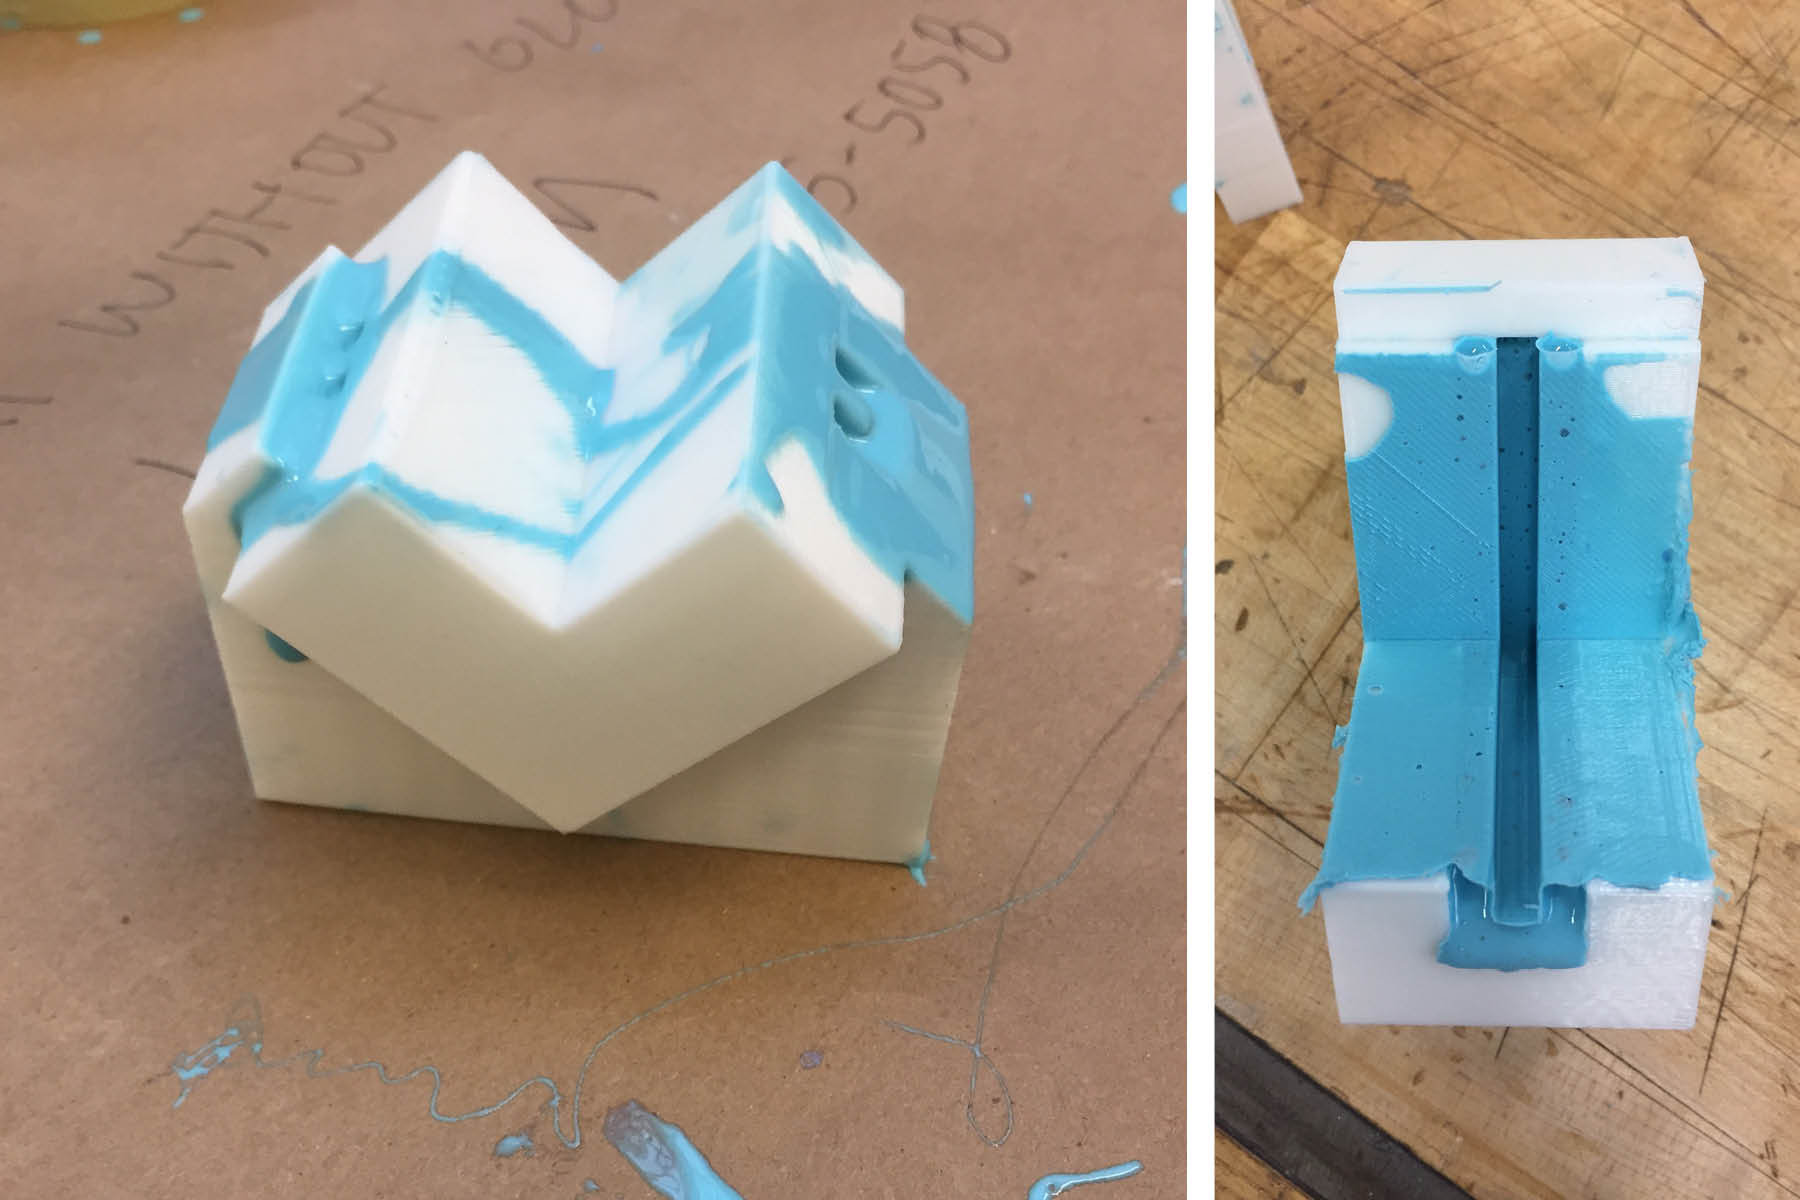
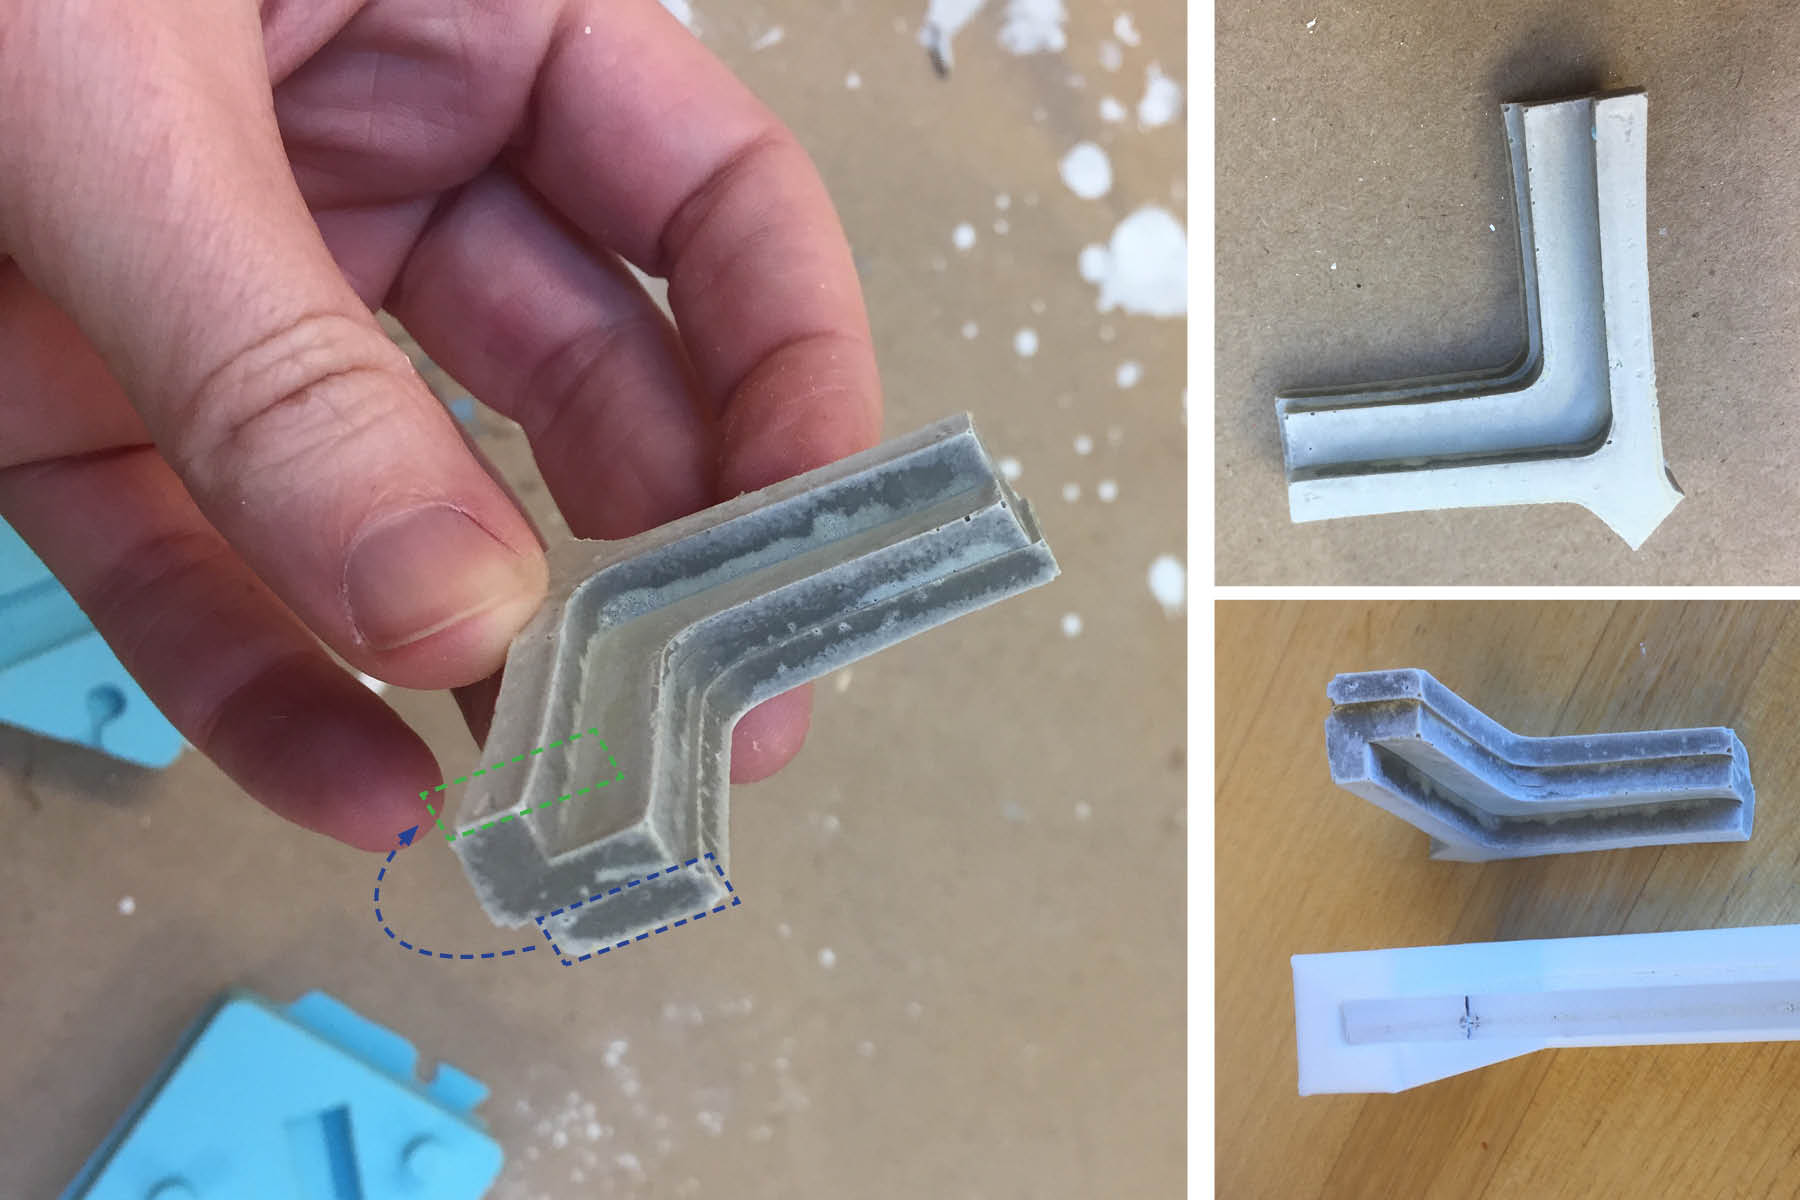
Before working with silicon, I wanted to test the mold with a similar material - oomoo. Pouring the mold was a little challenging. The material was too thick to go through the pour holes so I ended up having to pull the mold apart, fill it up as much as possible, then put the top piece back on it. It was also super difficult to pull apart once the oomoo had cured, so I had to gently hit it with a hammer a few times.
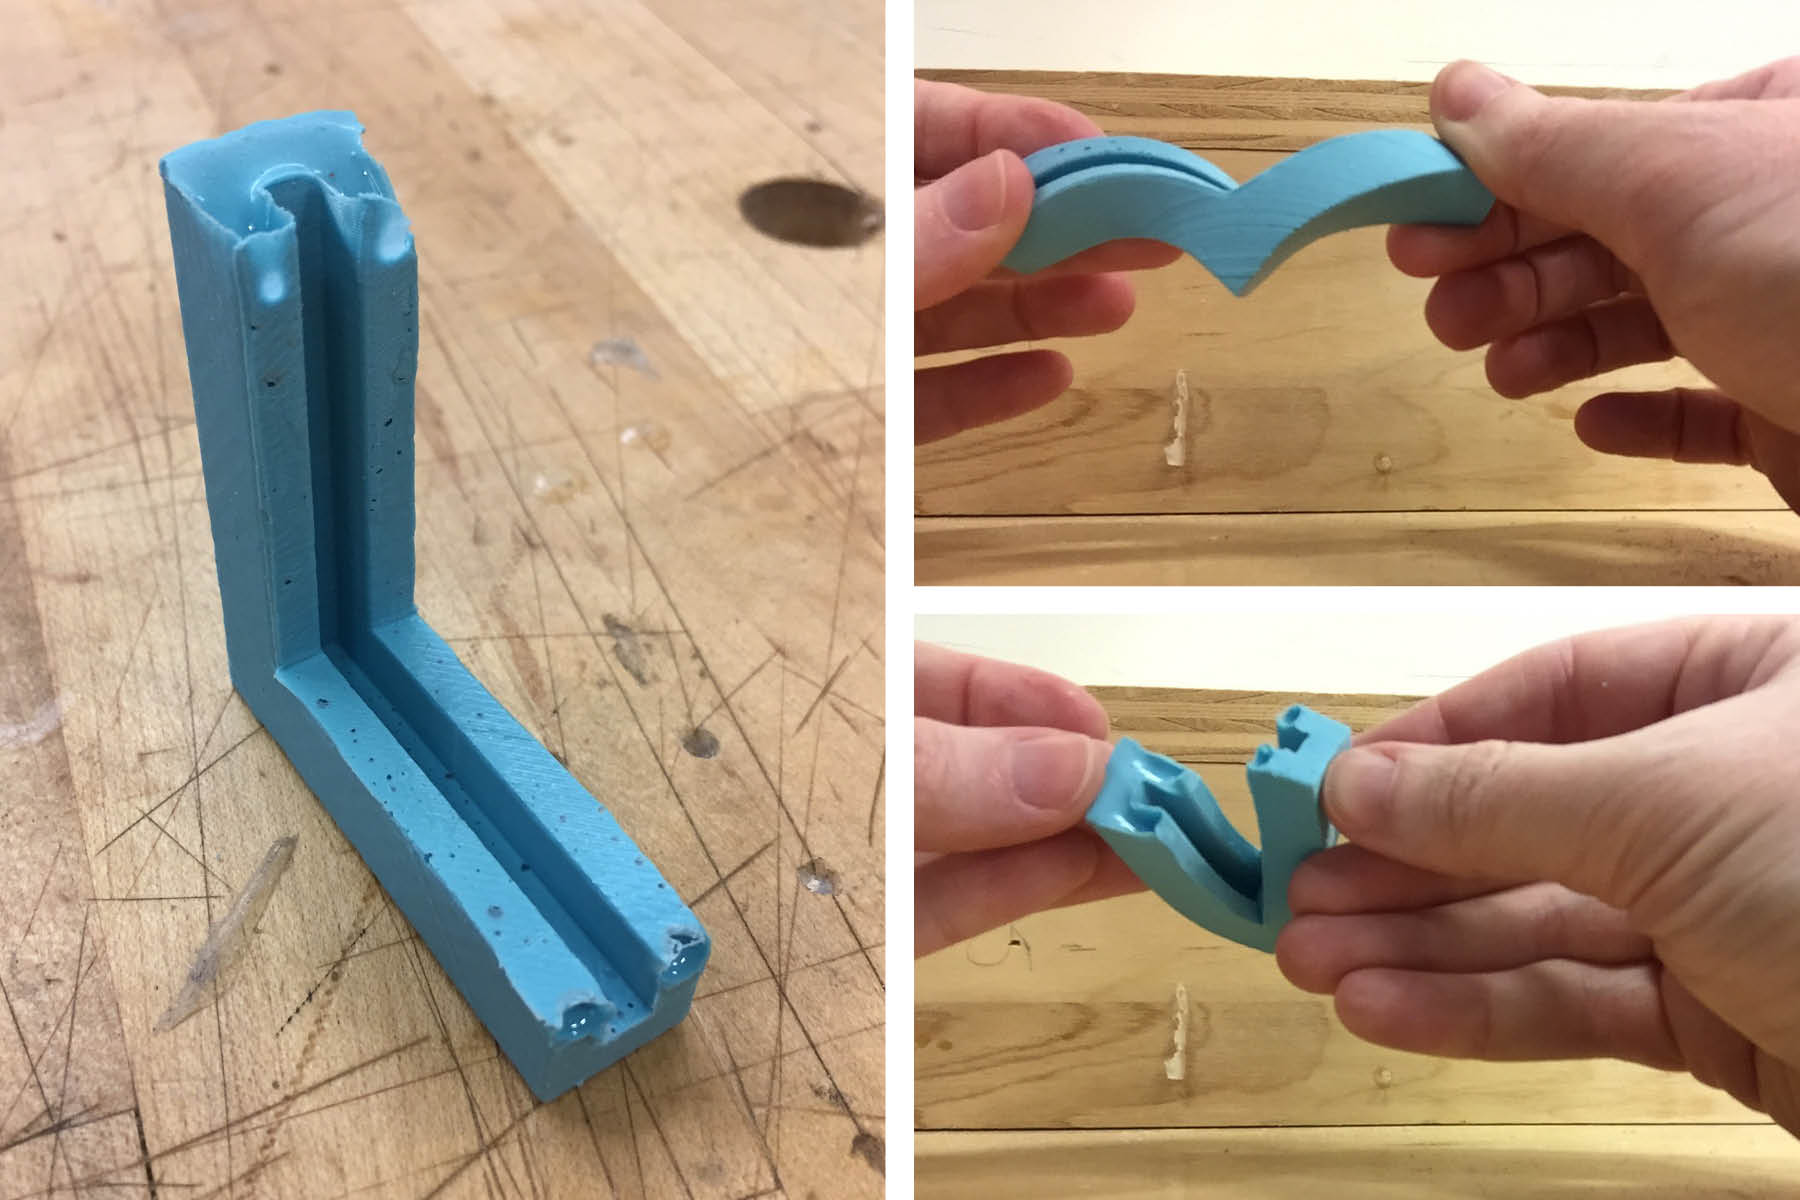
It didn't come out with a great finish- lots of air bubbles. It came right out of the mold though and was really fun to play with!
And here are all three attempts in a row.